

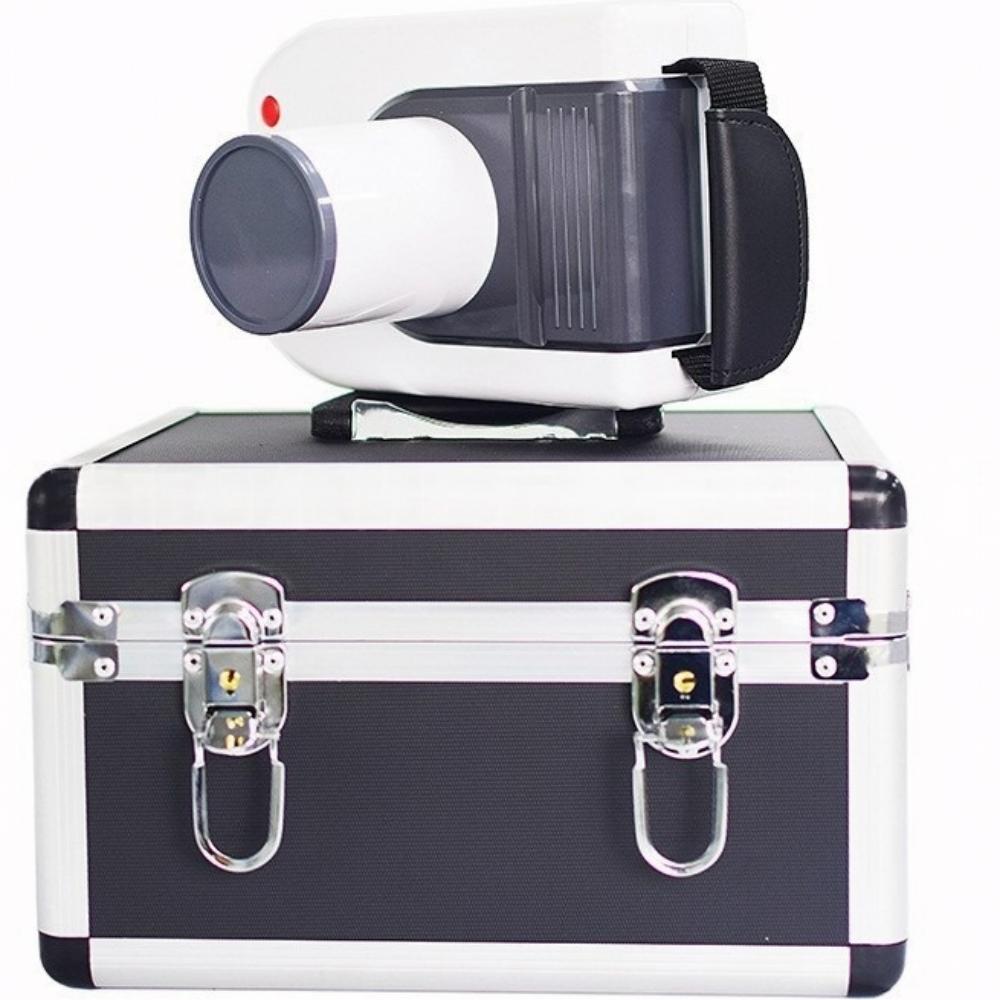
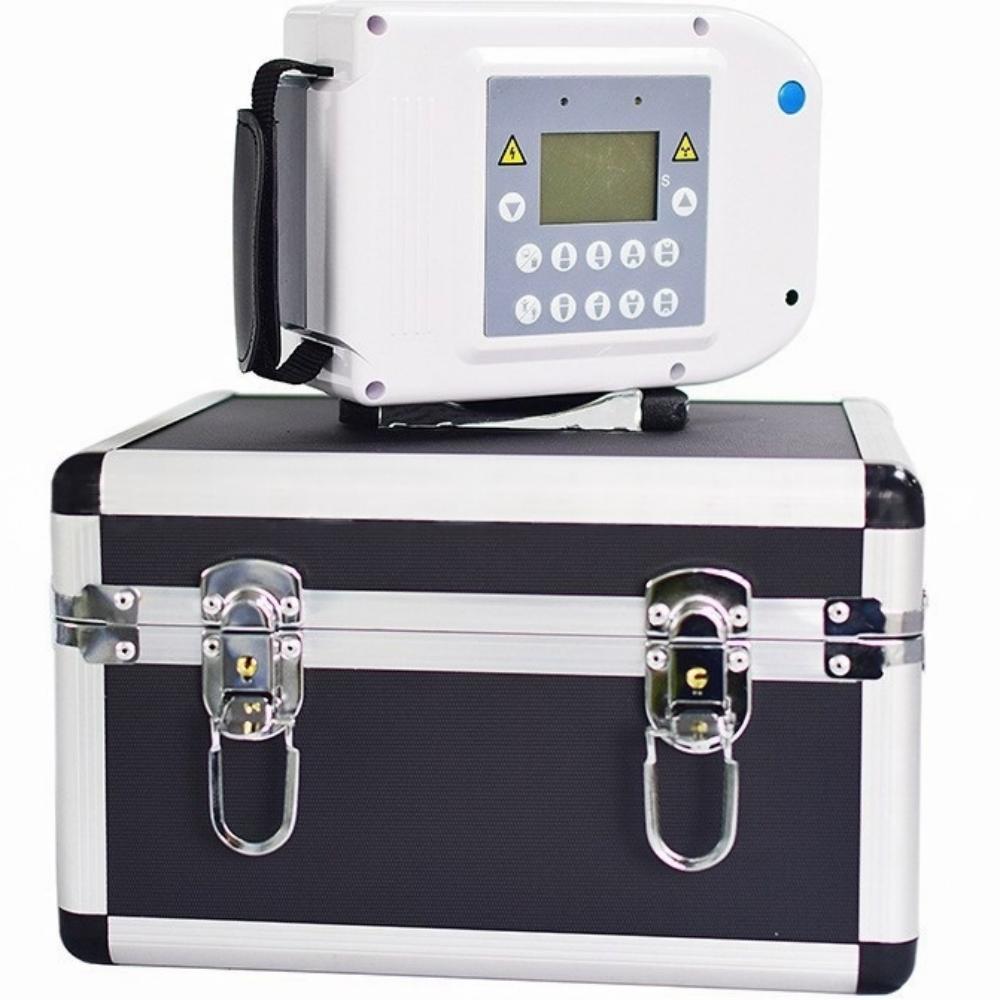
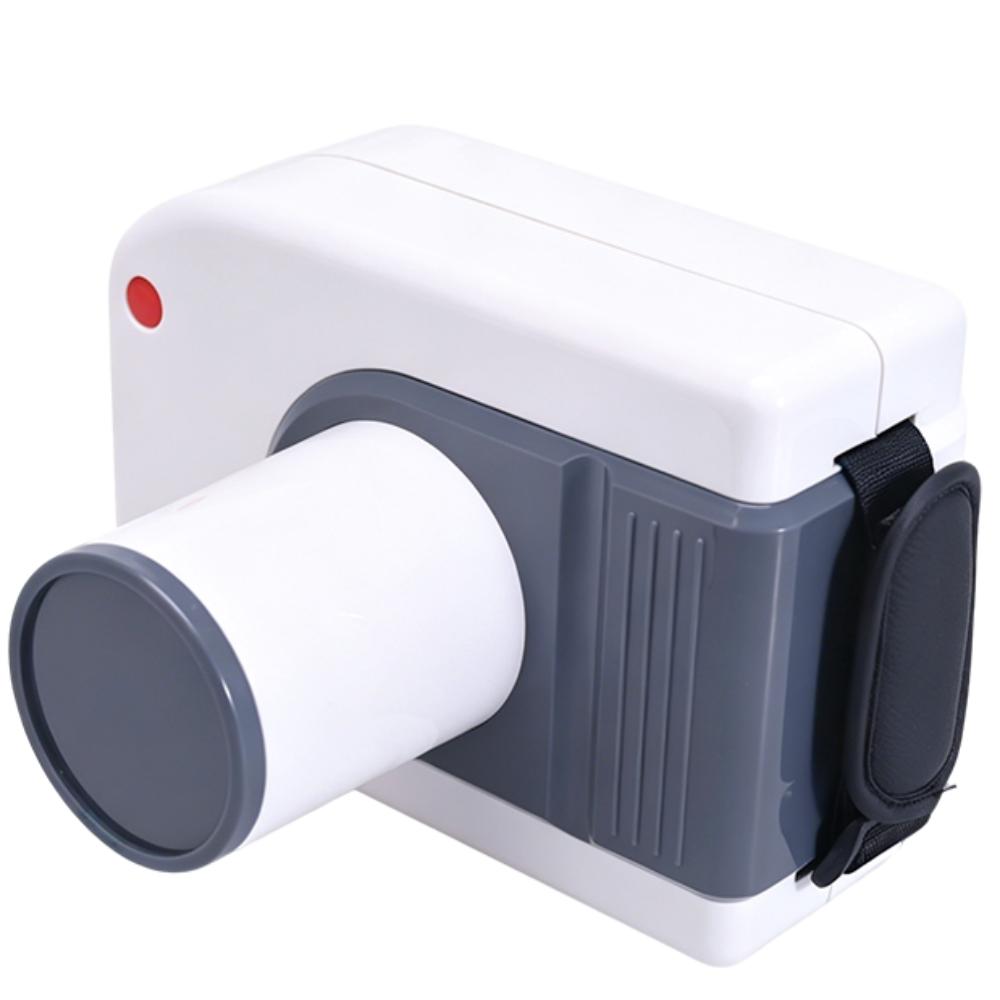
Handheld Veterinary Dental X Ray Machine
Price range: €1,430.15 through €1,519.59 EUR
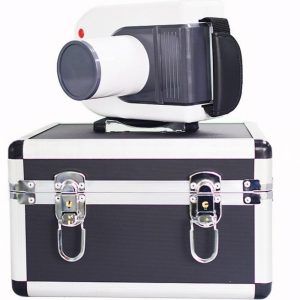
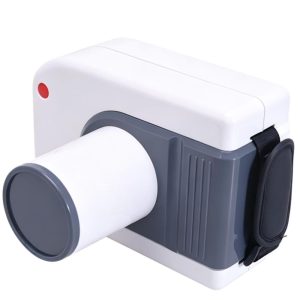
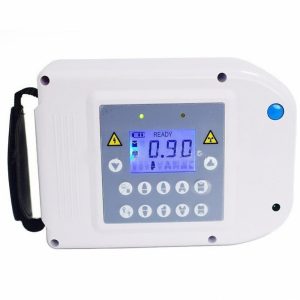
A compact, rechargeable handheld dental X-ray unit with an LCD status display and adjustable exposure controls. Its 2.5 kg design supports portable, battery-powered operation.
- High-frequency output: 60 kV / 1 mA at 30 kHz.
- Focal spot: 0.3 × 0.3 mm.
- Adjustable exposure: 0.1–2.0 seconds in 0.02-second increments.
- Rechargeable battery: Built-in 14.8 V, 6400 mAh lithium battery with supplied charger.
Description
| Parameter | Specification |
|---|---|
| X-ray Generator | High-frequency DC |
| Tube Voltage | 60 kV |
| Tube Current | 1 mA |
| Operating Frequency | 30 kHz |
| Rated Power | 60 VA |
| Focal Spot Size | 0.3 × 0.3 mm |
| Exposure Time Range | 0.1–2.0 seconds |
| Exposure Time Adjustment | 0.02-second increments |
| Skin-to-Cone Distance | 130 mm |
| Power Supply | Rechargeable lithium battery |
| Battery Voltage | DC 14.8 V |
| Battery Capacity | 6400 mAh |
| Charger Input | AC 100–240 V ±10% |
| Charger Output | DC 16.8 V |
| Automatic Power-Off | After 5 minutes of inactivity |
| Net Weight | 2.5 kg |
| Dimensions | 138 × 165 × 185 mm |
| Ambient Temperature | 5–40°C |
| Relative Humidity | <75% RH |
Compact Dental Imaging, Practical Controls
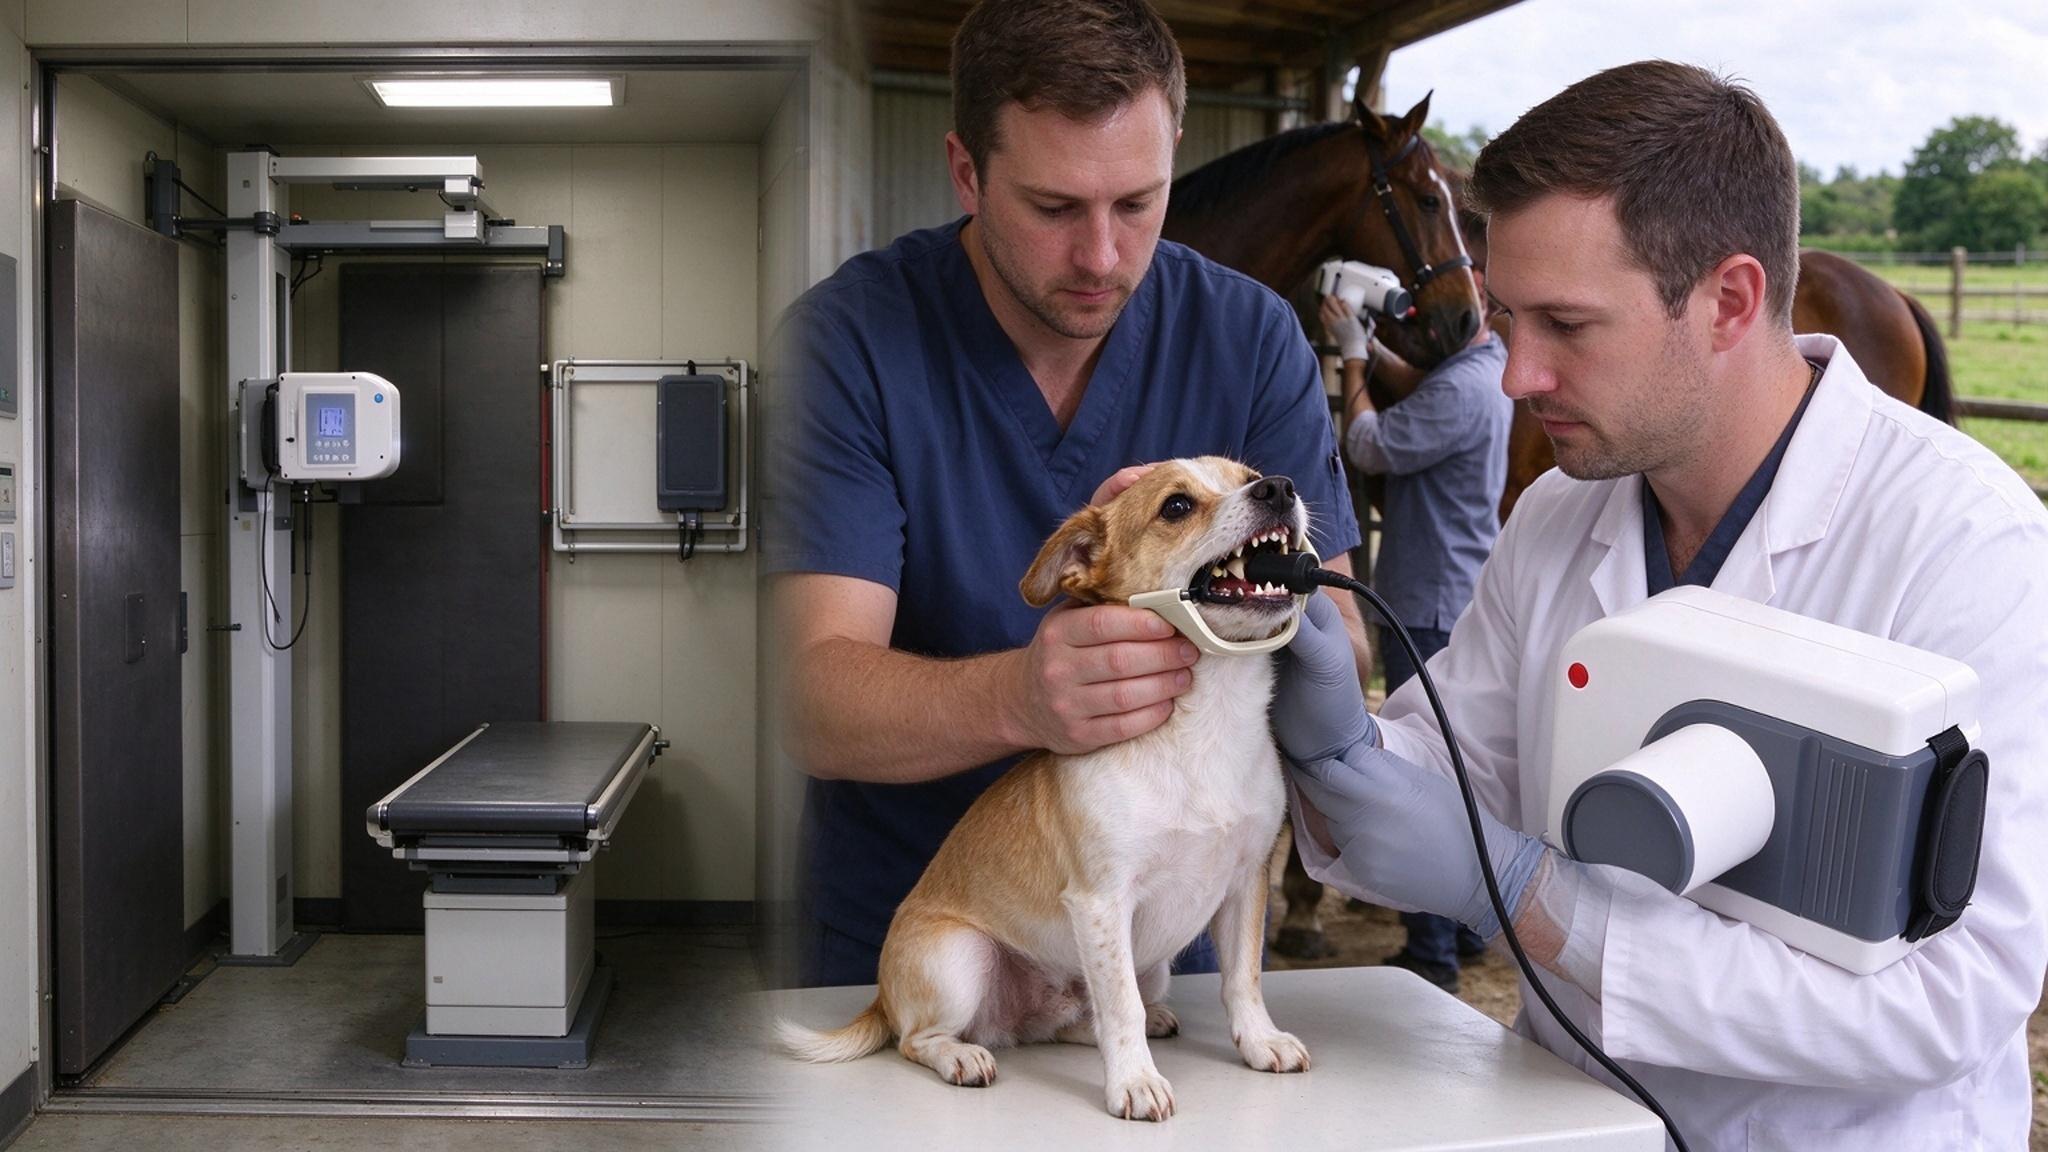
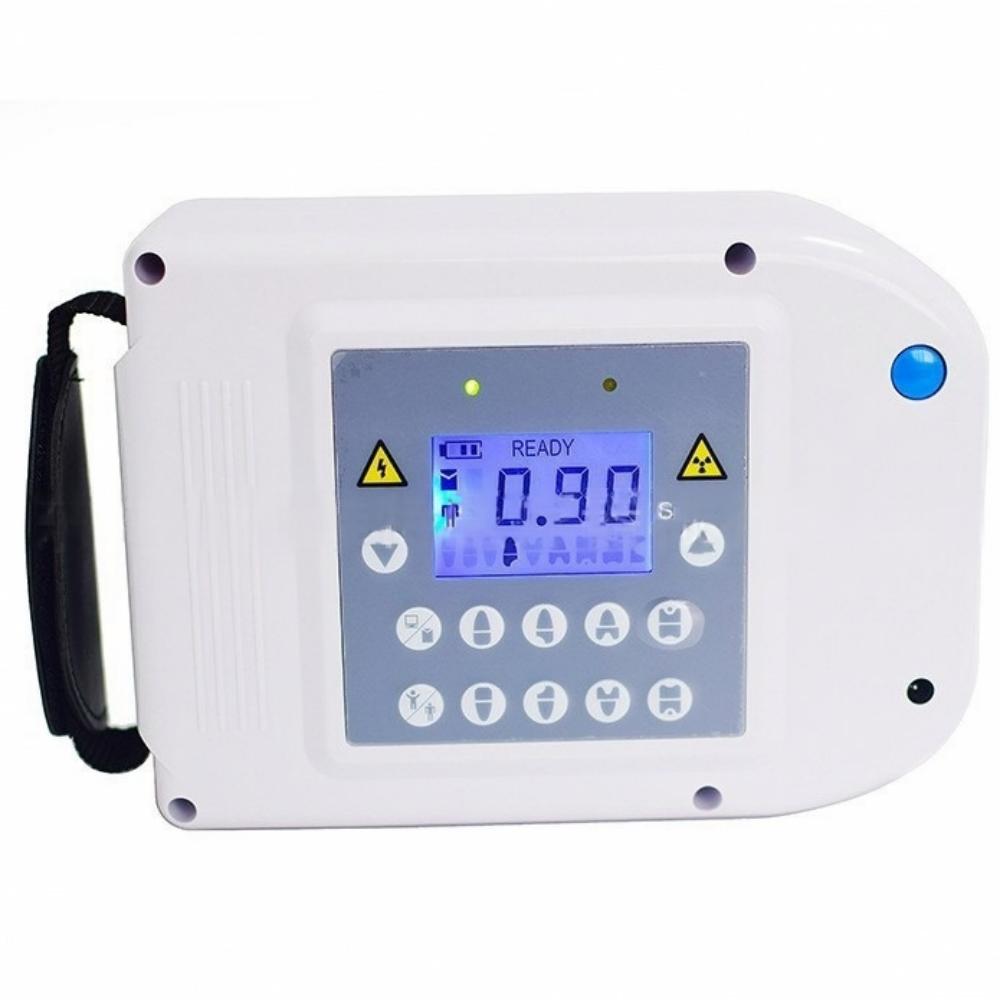
A compact handheld design brings together an LCD status display, film/sensor selection and adjustable exposure settings. Exposure time can be adjusted in 0.02-second increments for the selected imaging receptor.
Core Unit Performance Advantages
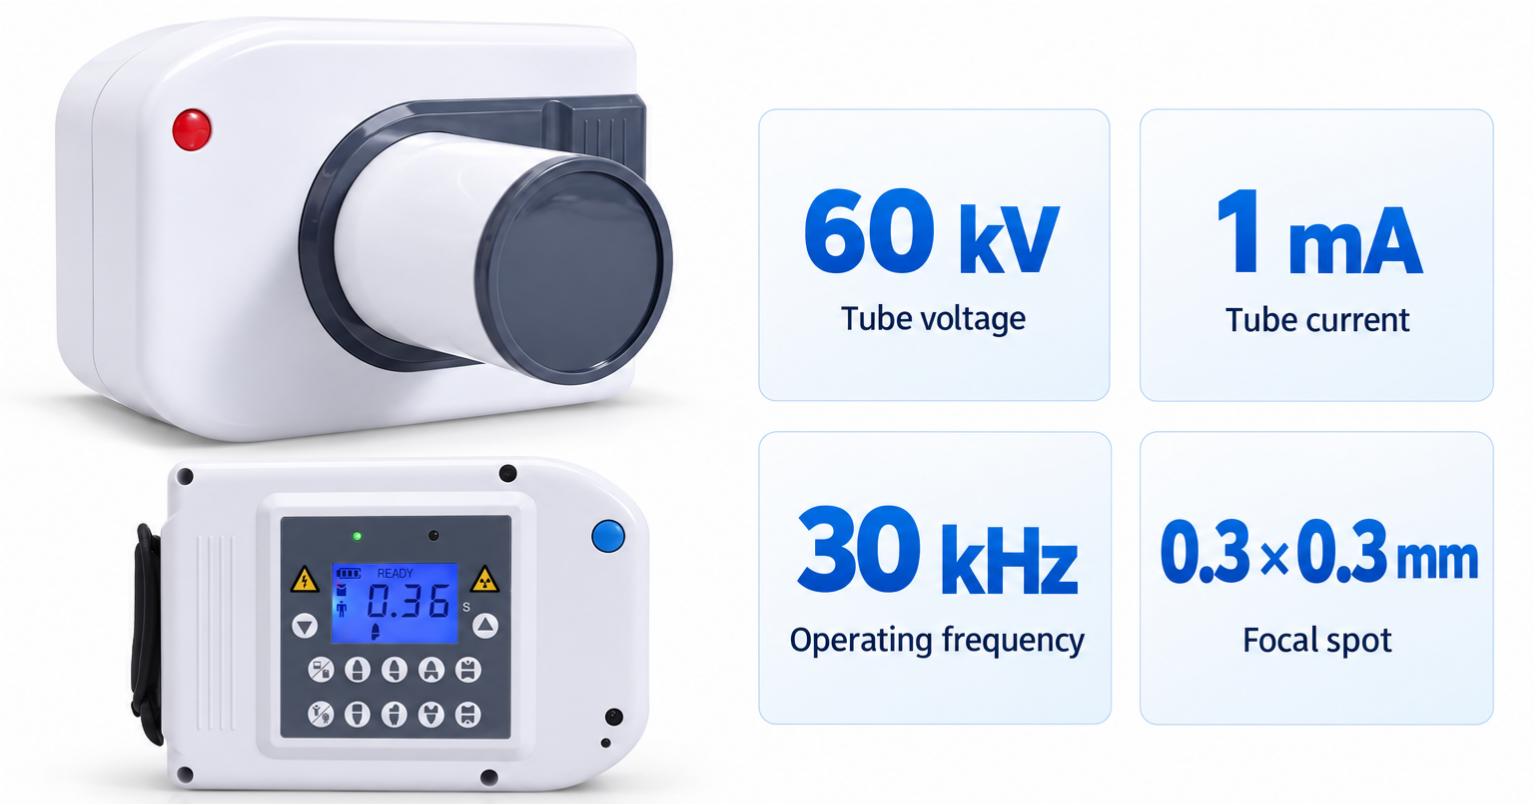
60 kV High-Frequency Output
The unit combines 60 kV tube voltage, 1 mA tube current and a 30 kHz operating frequency with a 0.3 × 0.3 mm focal spot.
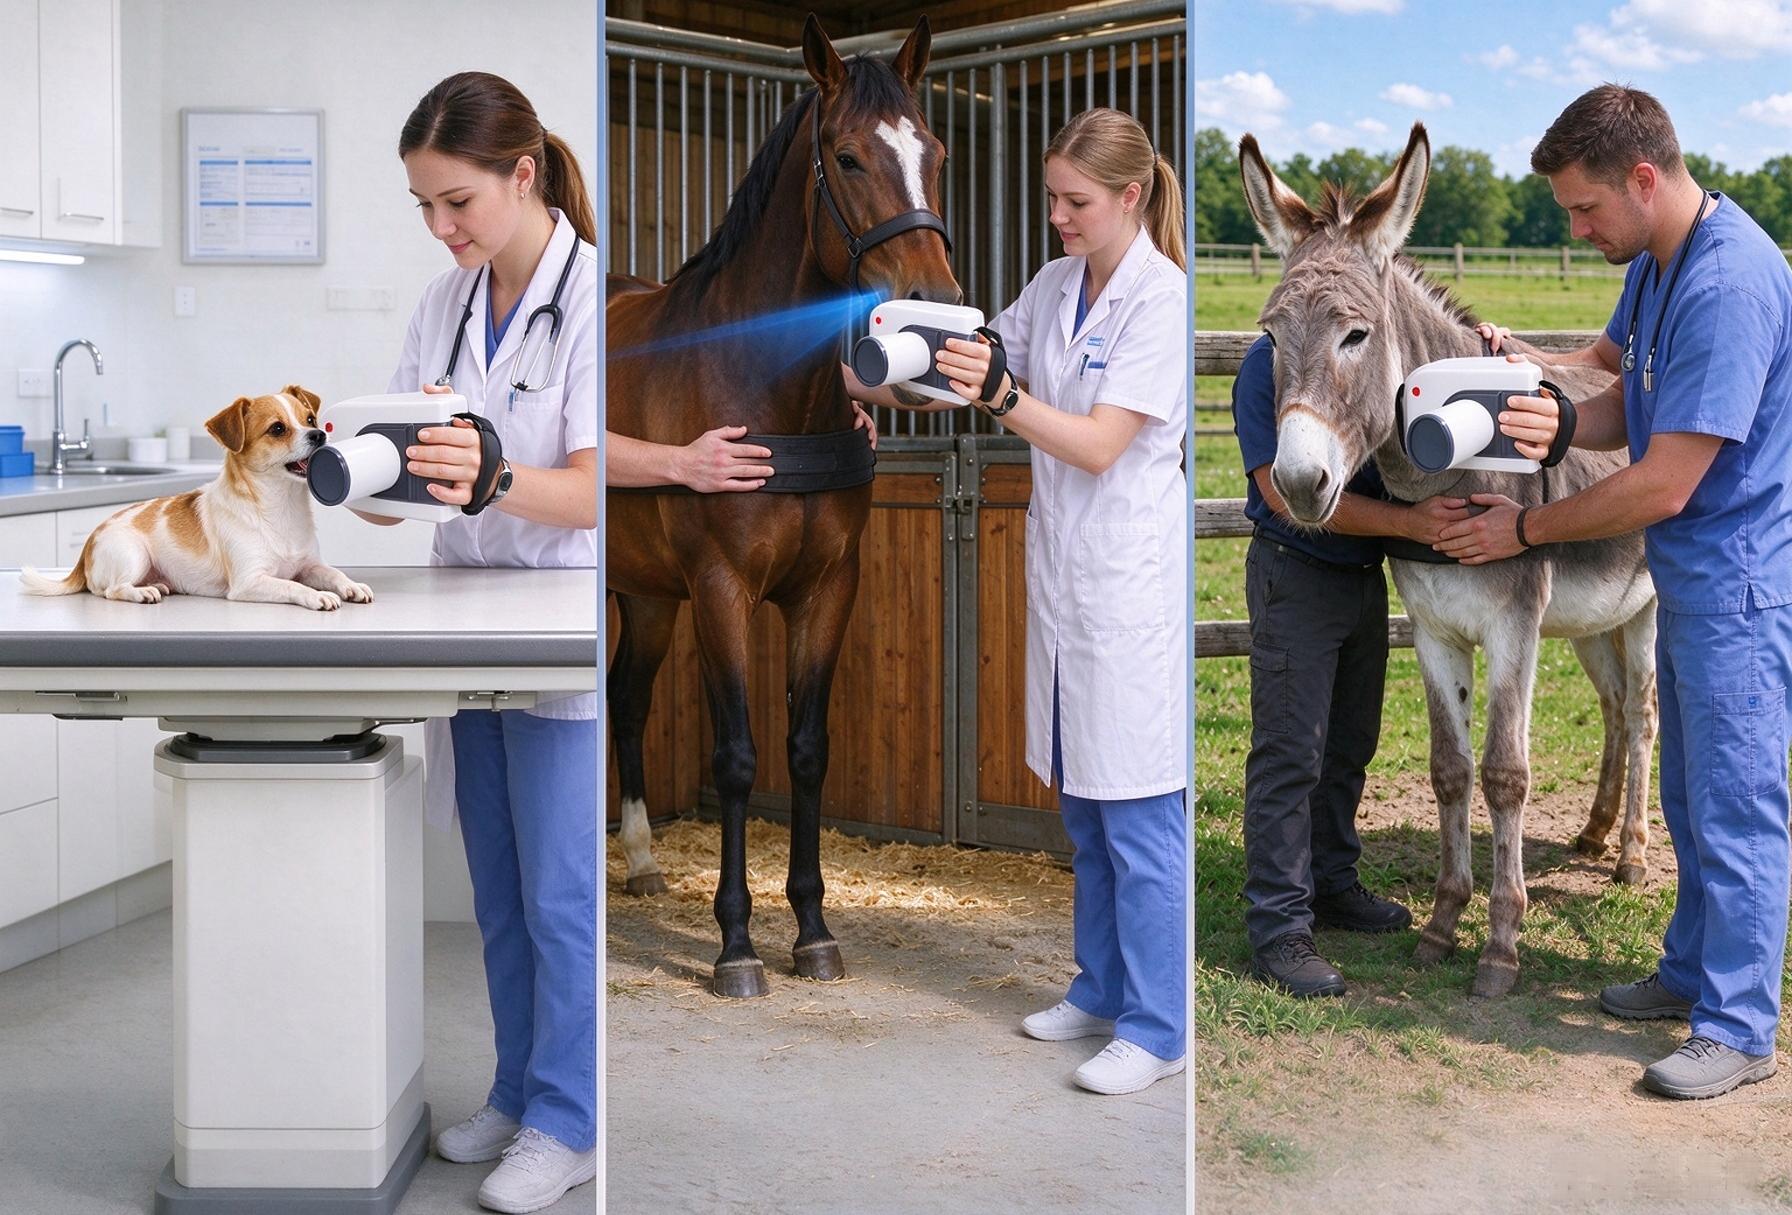
Compact Handheld Design
Weighing 2.5 kg and measuring 138 × 165 × 185 mm, the unit offers a compact handheld format for portable operation.
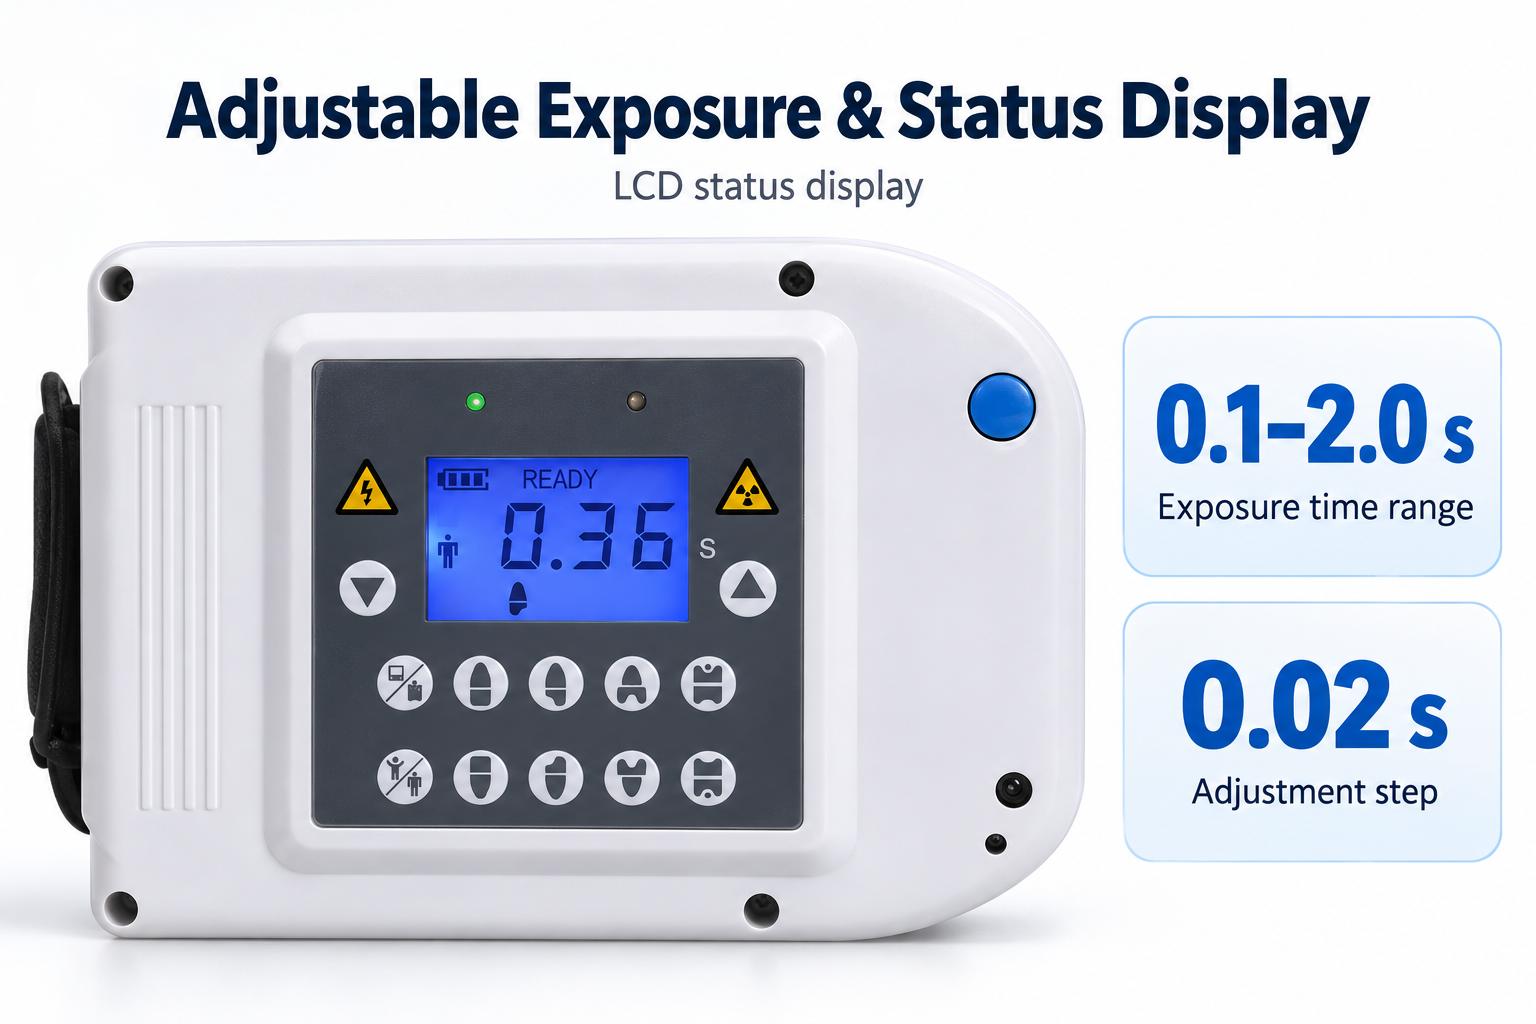
Adjustable Exposure & Status Display
Adjust exposure time from 0.1 to 2.0 seconds in 0.02-second increments. The LCD displays settings and operating status, while an exposure indicator and audible feedback signal exposure.
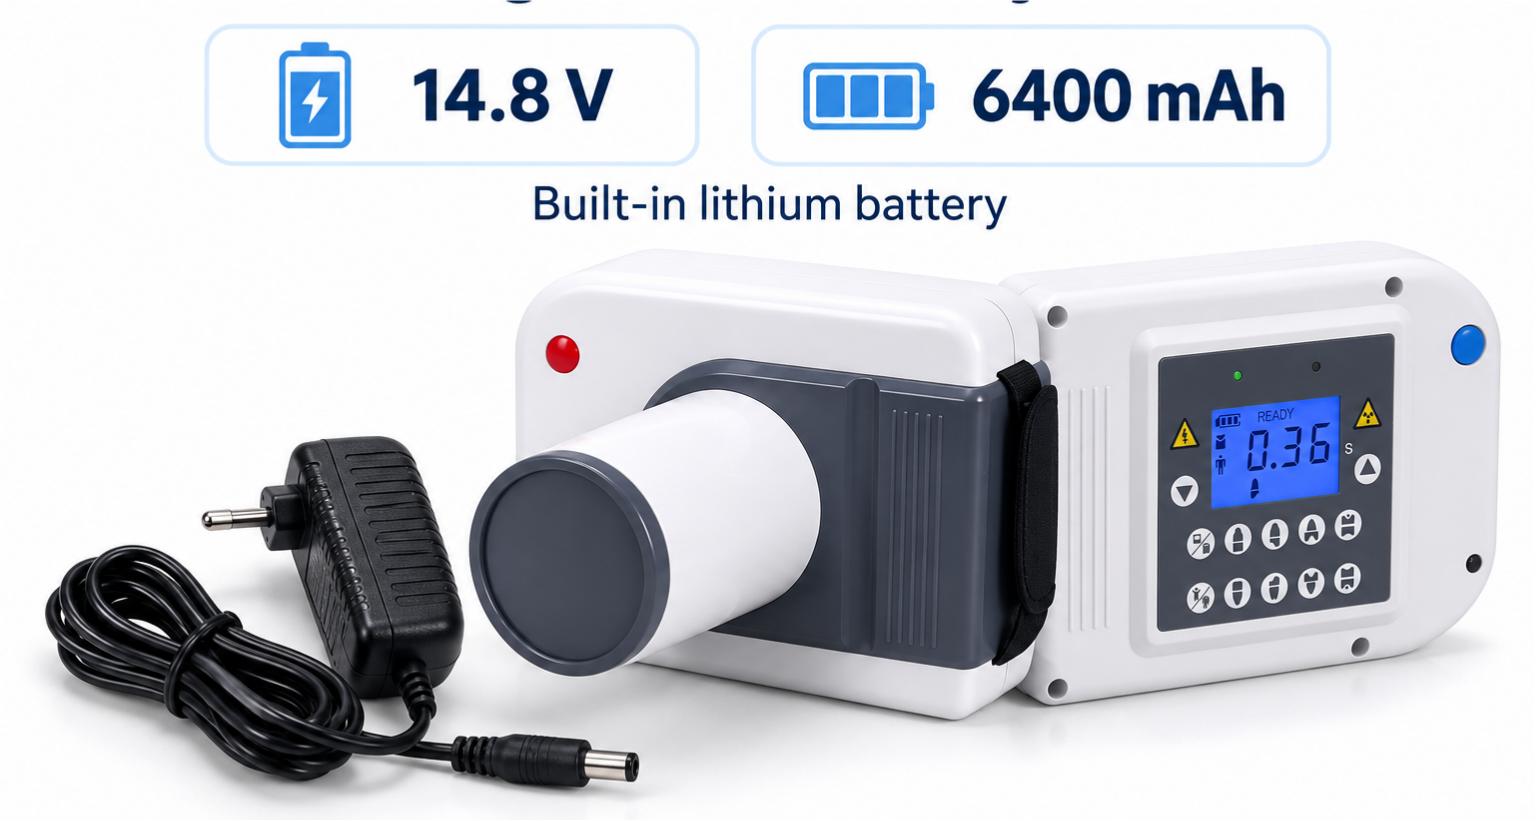
Rechargeable Battery Power
A built-in 14.8 V, 6400 mAh rechargeable lithium battery powers the unit without a continuous mains connection during battery-powered operation. Recharge using the supplied charger.
Sensor Selection Guide
Choose the sensor size that matches your primary caseload. Both sensors work with the same handheld X-ray unit and deliver diagnostic-grade image quality.
| Large-Format Sensor | Compact Sensor | |
|---|---|---|
| Best For | Horses, cattle, camelids, large breed dogs, donkeys | Cats, small/medium dogs, rabbits, rodents, ferrets, hedgehogs |
| Key Benefit | Wide field of view — covers more teeth per shot, reduces full-mouth series by 30%+ | Compact size — fits easily in narrow mouths, easy positioning, less animal stress |
| Imaging Strength | Deep penetration for dense equine/bovine jaw bone | Fine detail for small tooth anatomy and early lesions |
| Exposure Range | 1.0 – 2.0s typical | 0.1 – 0.5s typical |
| Common Uses | Cheek teeth apical disease, sinus involvement, root abscess, periodontal bone loss | Tooth resorption, periapical abscess, malocclusion, pre-extraction assessment |
Note: The X-ray hand unit is identical for both options. Only the sensor size differs. Mixed practices can purchase both sensors and swap as needed.
Practice Applications
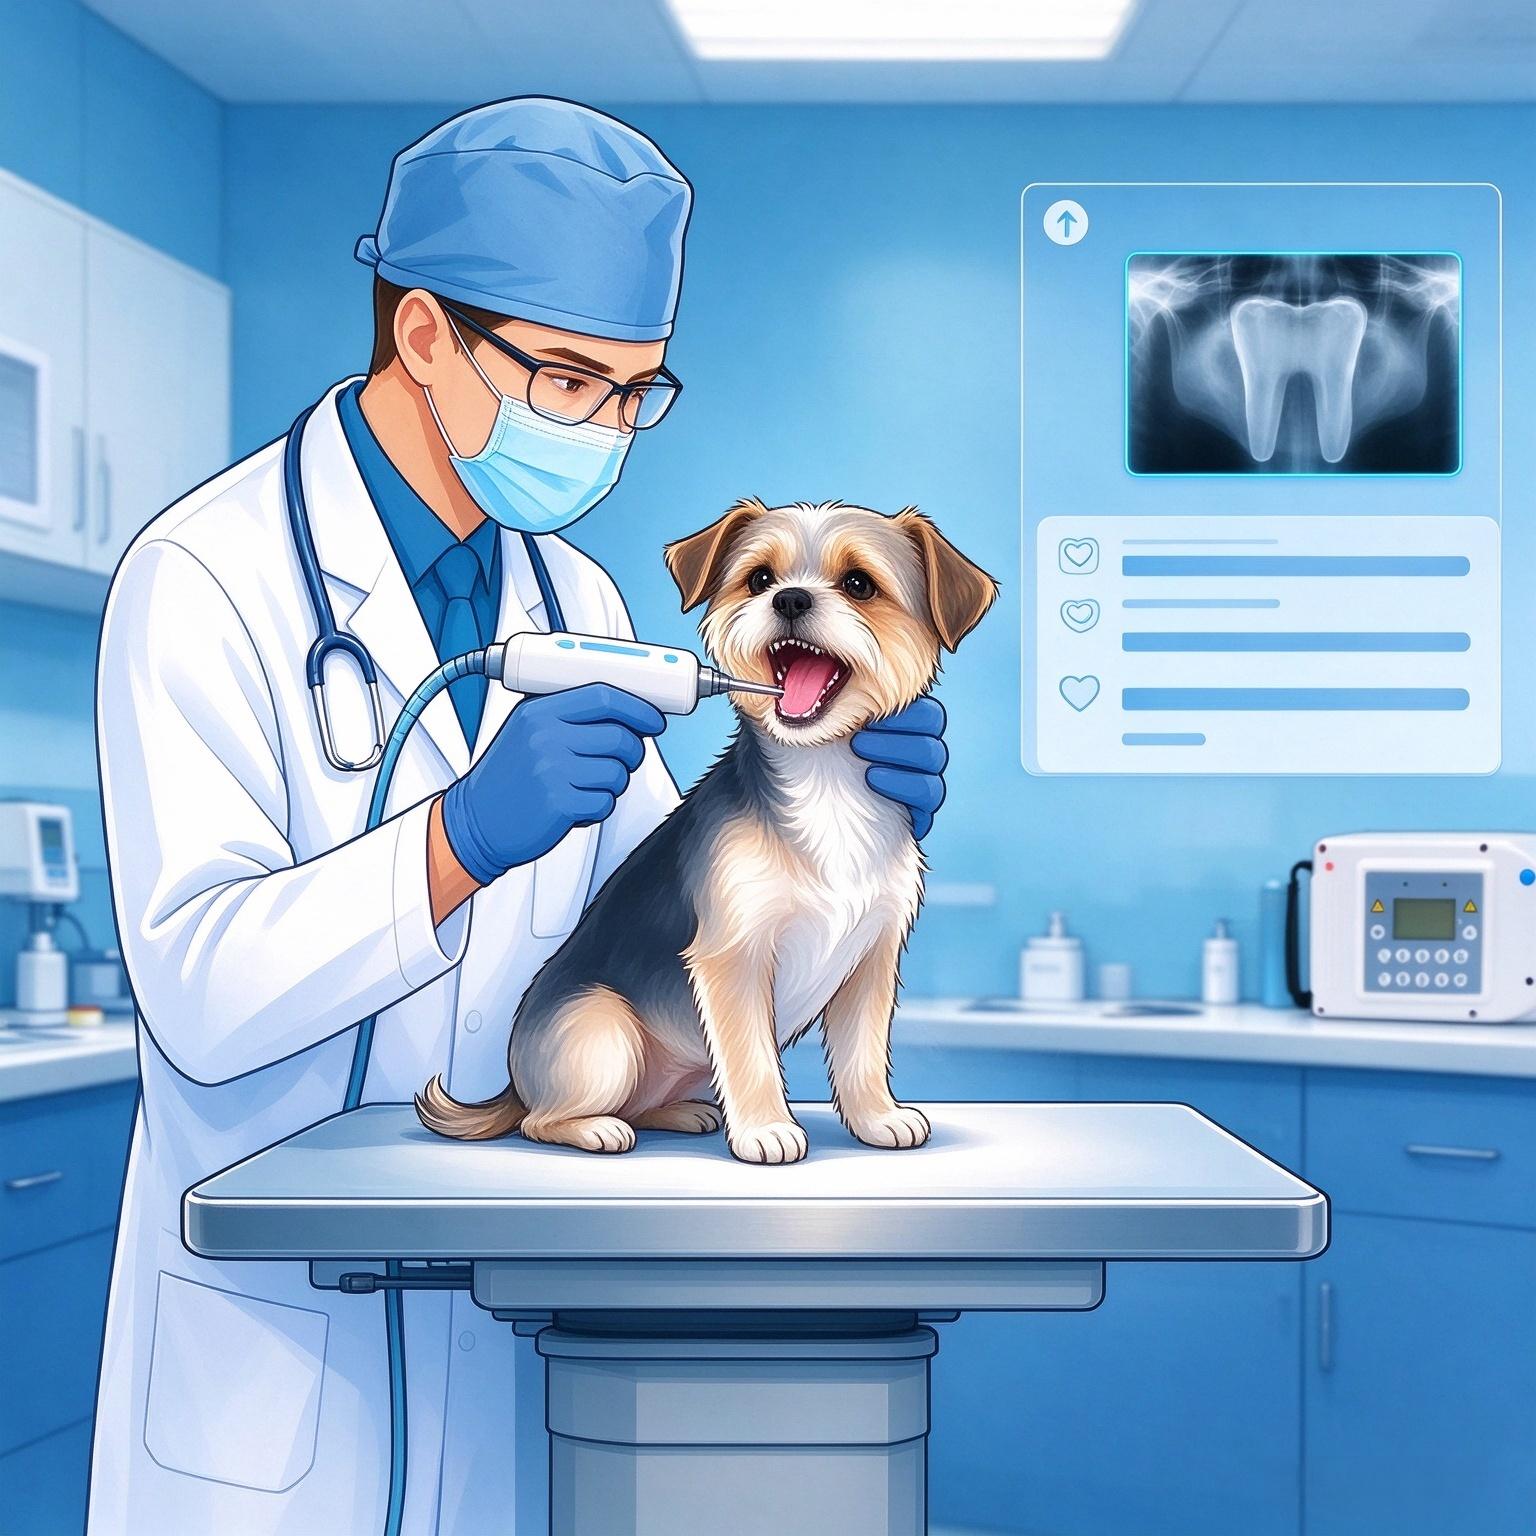
Small Animal Clinics
- General practice dental workups
- Veterinary dental specialty clinics
- Exotic animal hospitals
- Emergency dental trauma cases
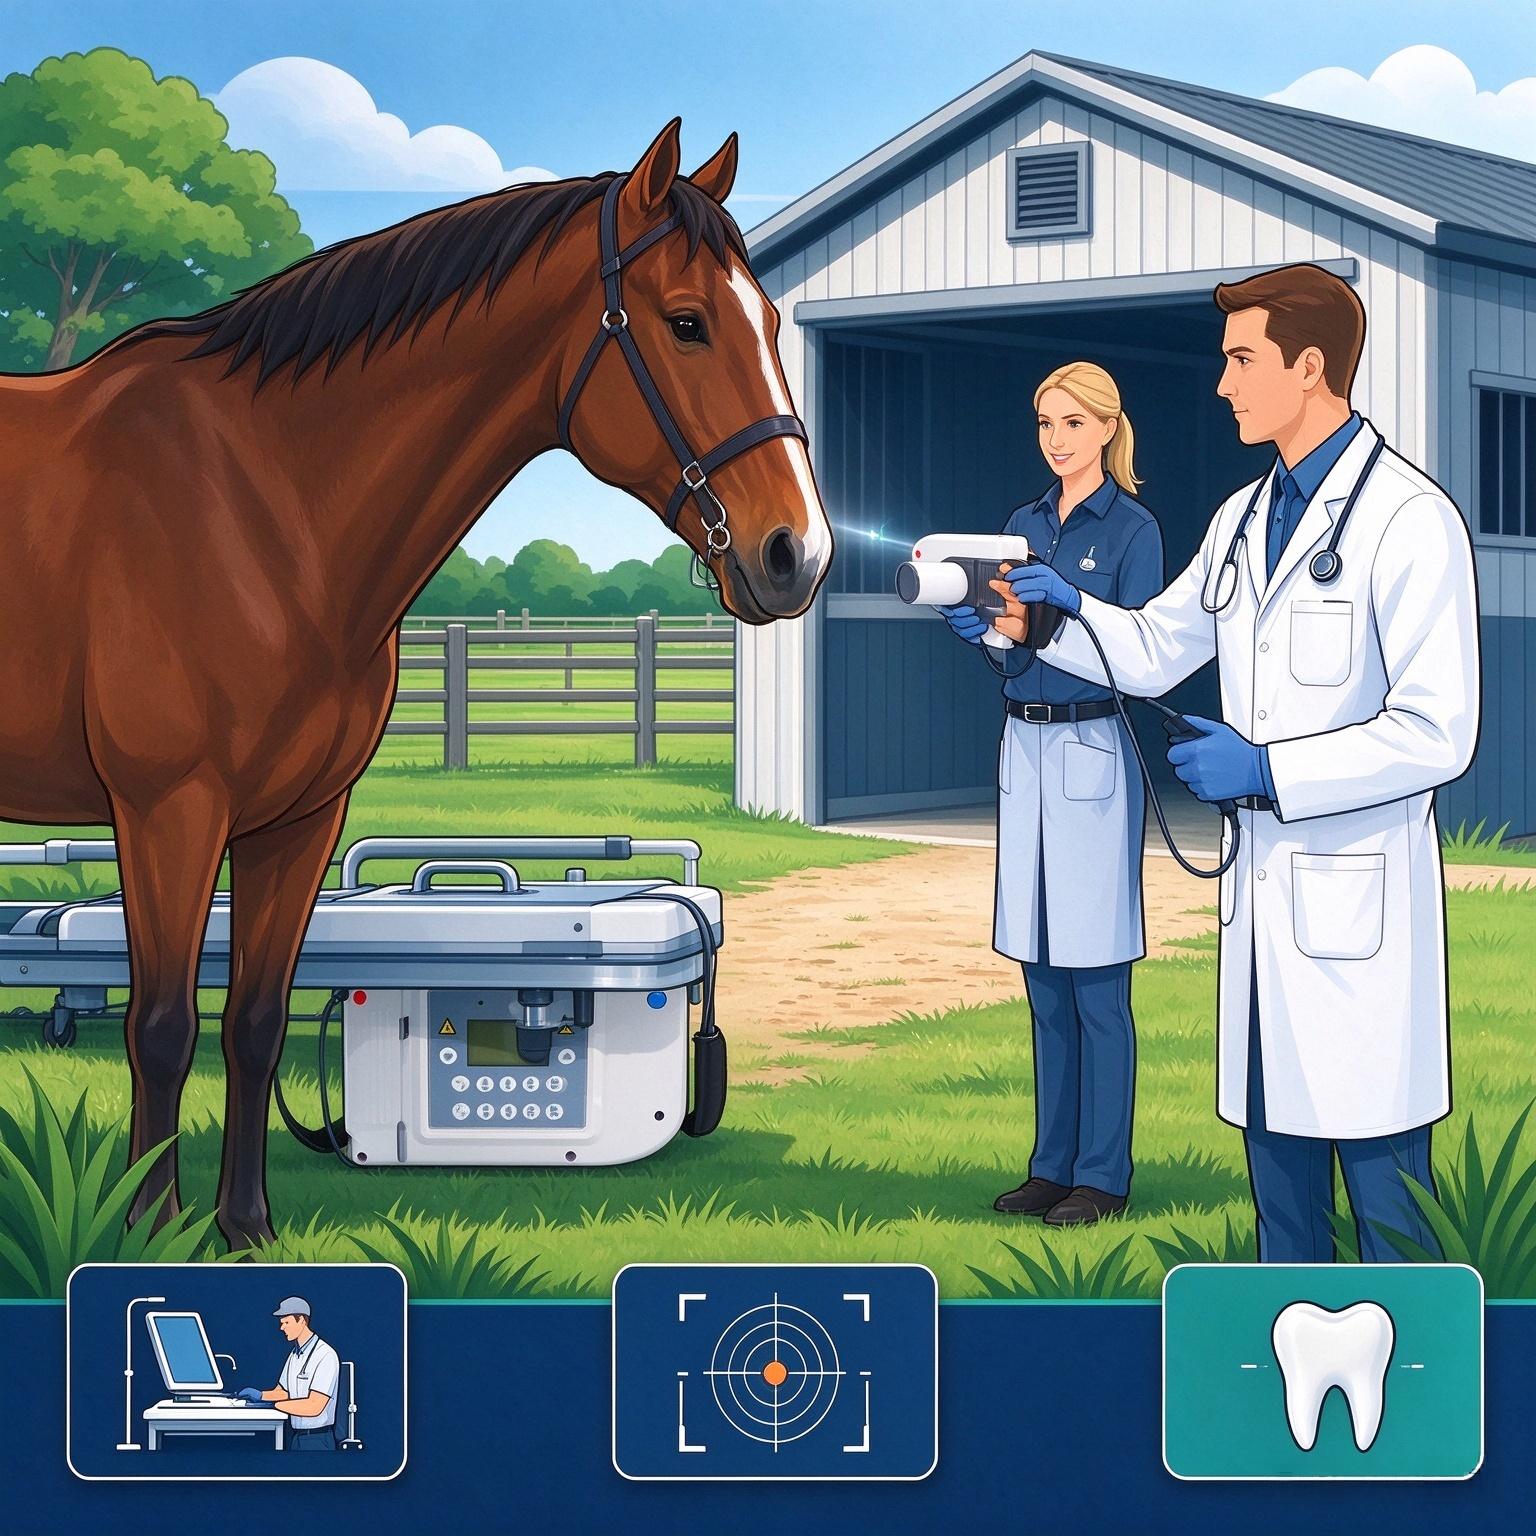
Large Animal & Mobile
- Farm / stable on-site dental calls
- Ambulatory equine / bovine practices
- Rural mixed animal clinics
- Livestock dental screening
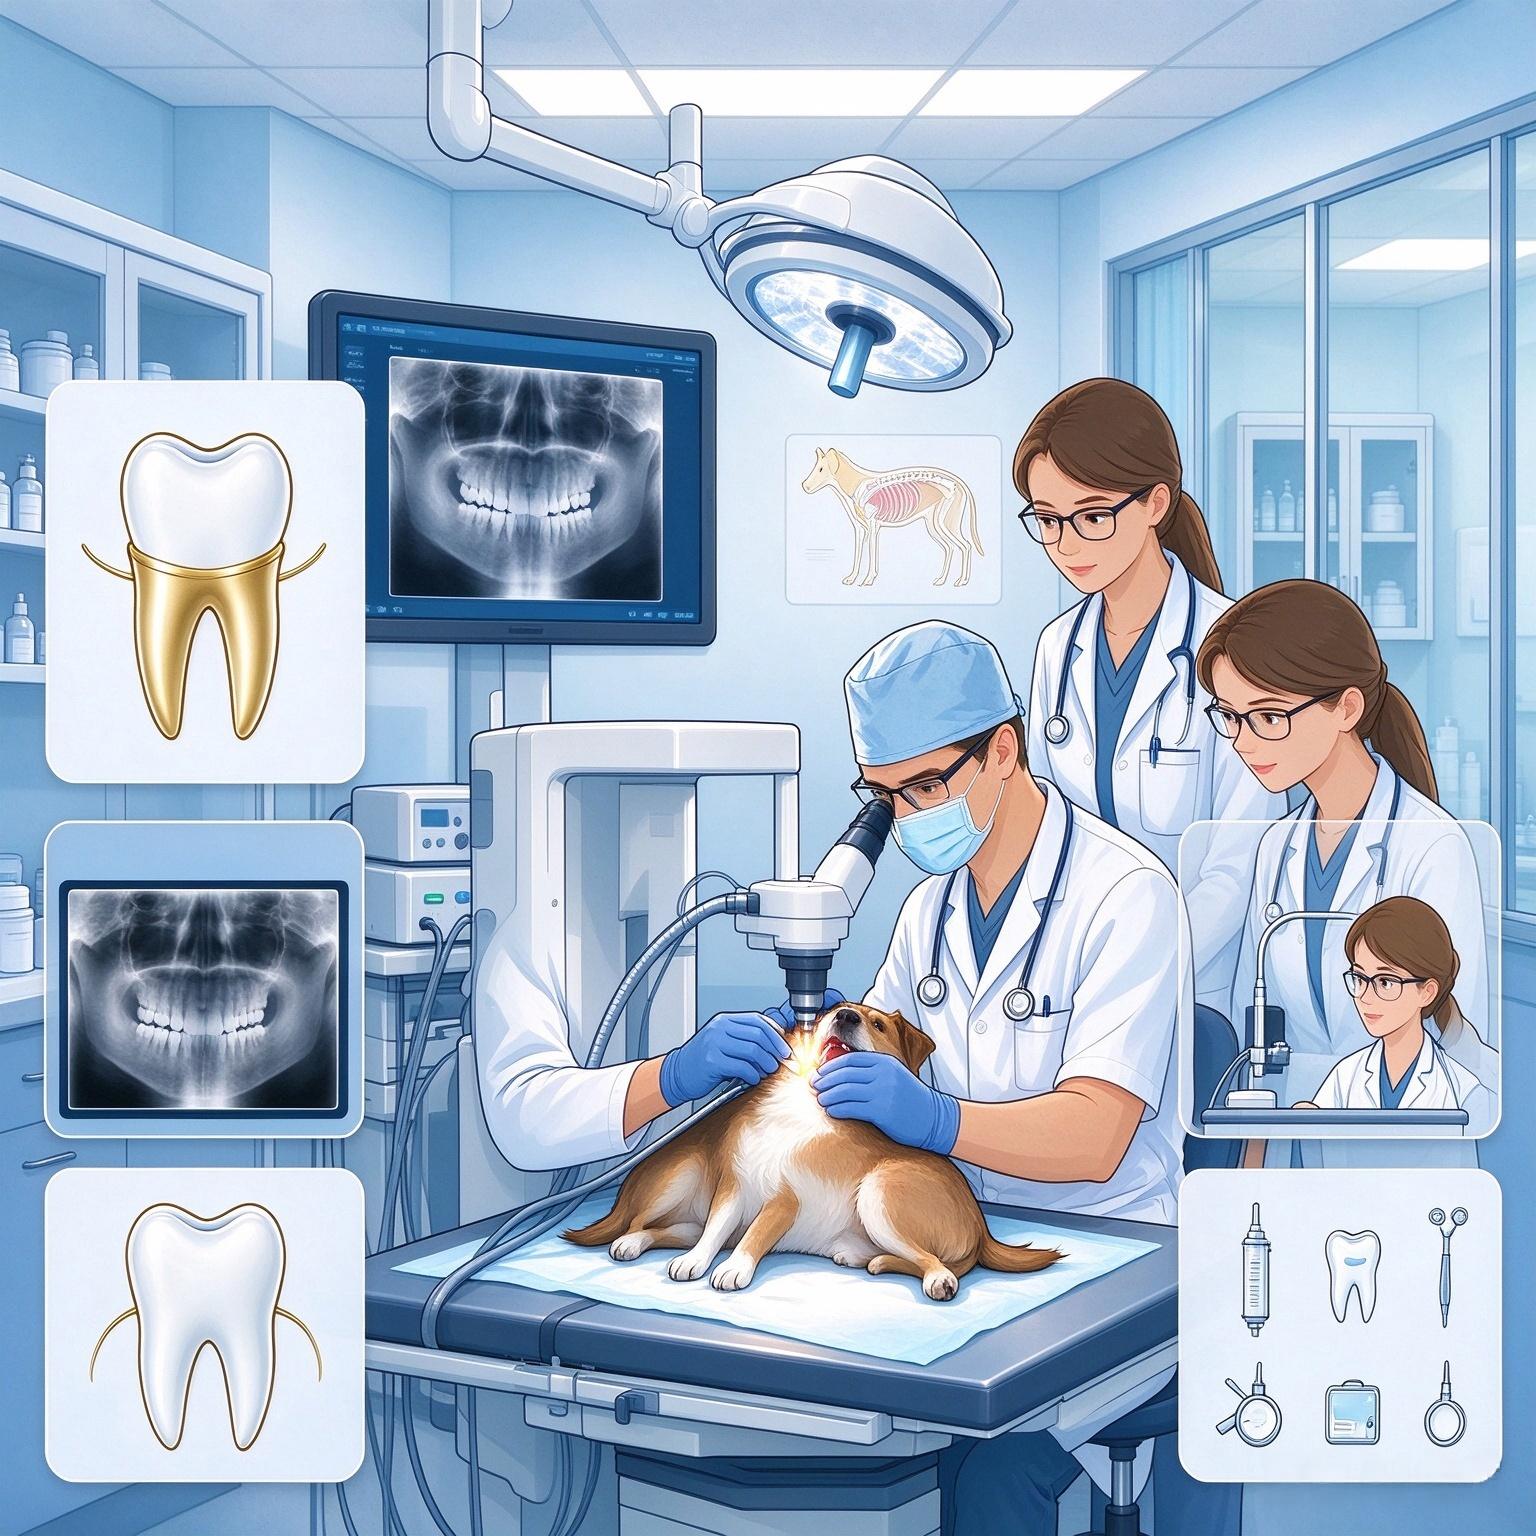
Institutional Use
- Veterinary teaching hospitals
- Zoos & wildlife centers
- Animal shelters & rescues
- Racing stables dental programs
Device Controls at a Glance
- Power On: Press and hold the power button for approximately 3 seconds. Check the display and wait for the unit to be ready.
- Select Settings: Select film or sensor mode. Adjust exposure time in 0.02-second increments.
- Prepare for Imaging: Position the receptor and unit using the appropriate professional imaging technique.
- Start Exposure: Press and release the exposure button to start the selected exposure. The LCD displays “EXP”, accompanied by an exposure indicator and audible feedback.
- Power Off: Press and hold the power button for approximately 2 seconds. The unit also powers off automatically after 5 minutes of inactivity.
Follow the complete supplied manual for operation, preparation and safety instructions.
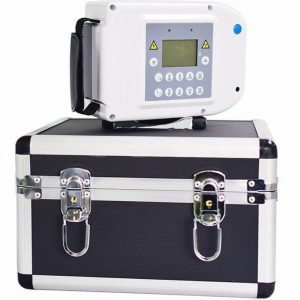
Know Your Device
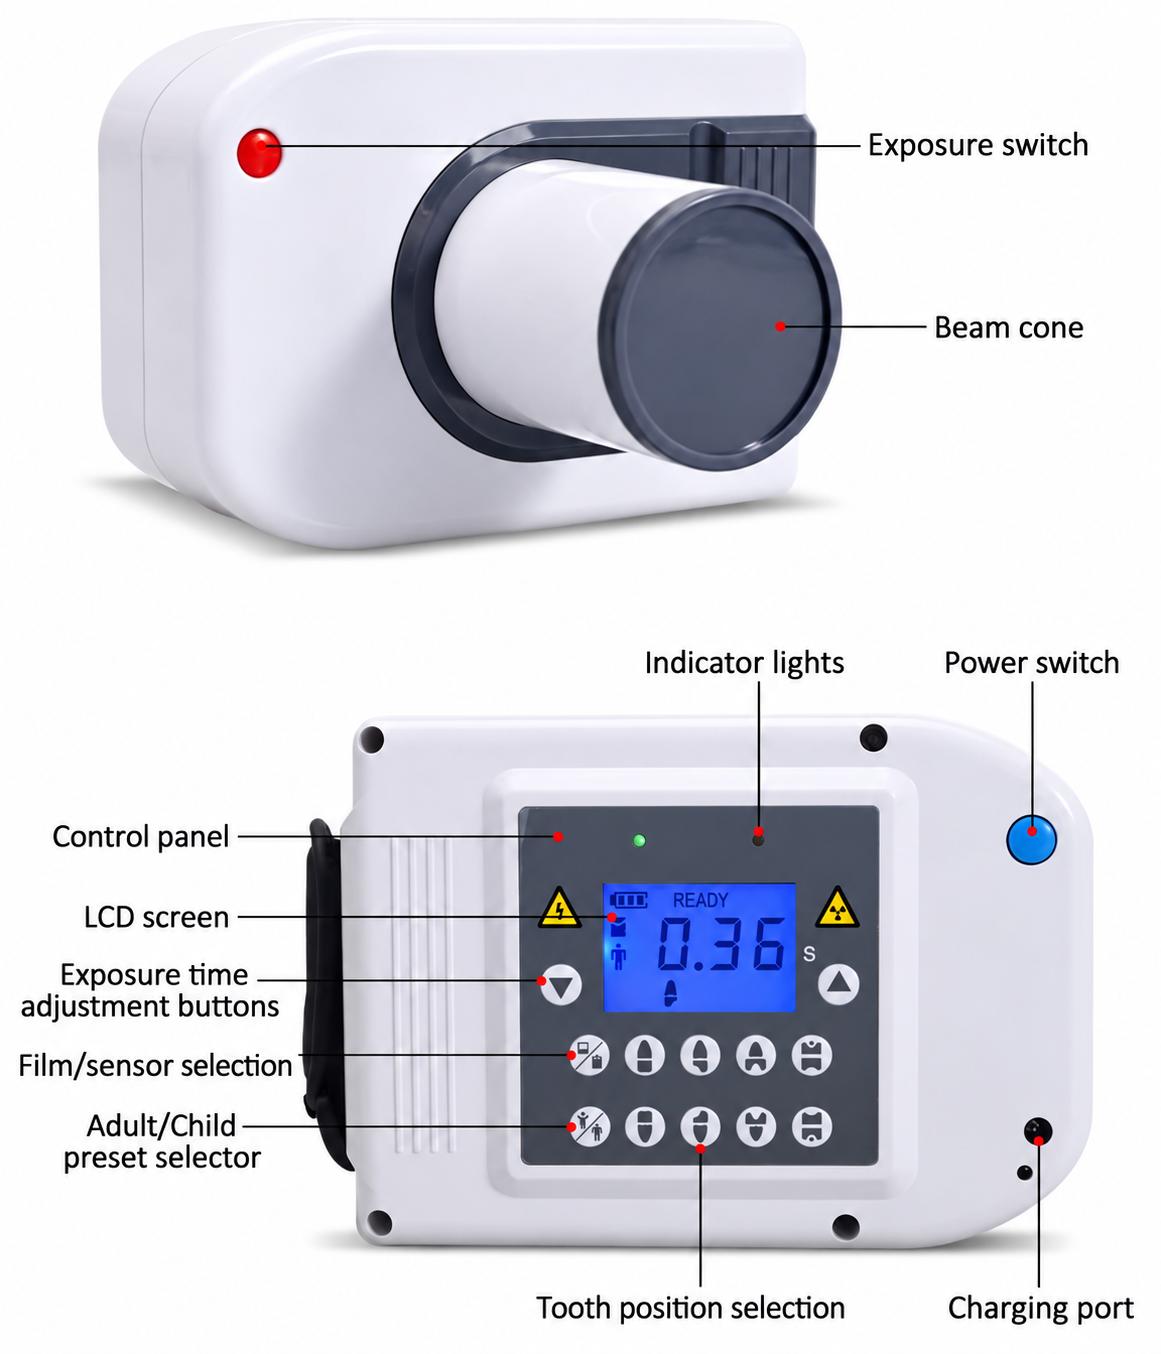
| No. | Component | Function |
|---|---|---|
| 1 | Exposure Switch | Press and release to start the selected exposure. |
| 2 | Beam Cone | X-ray beam outlet. |
| 3 | Control Panel | Provides preset selection and exposure controls. |
| 4 | Charging Port | Connects to the supplied charger. |
| 5 | LCD Screen | Displays settings, operating status and error codes. |
| 6 | Indicator Lights | Provide operating and exposure indications. |
| 7 | Power Switch | Hold for approximately 3 seconds to turn on or 2 seconds to turn off. |
| 8 | Adult/Child Preset Selector | Selects the Adult/Child presets shown on the panel. |
| 9 | Film/Sensor Selector | Selects film or sensor mode. |
| 10 | Tooth Position Preset Buttons | Select a tooth-position preset. |
| 11 | Exposure Time Adjustment Buttons | Adjust exposure time in 0.02-second increments. |
Build Quality & Durability
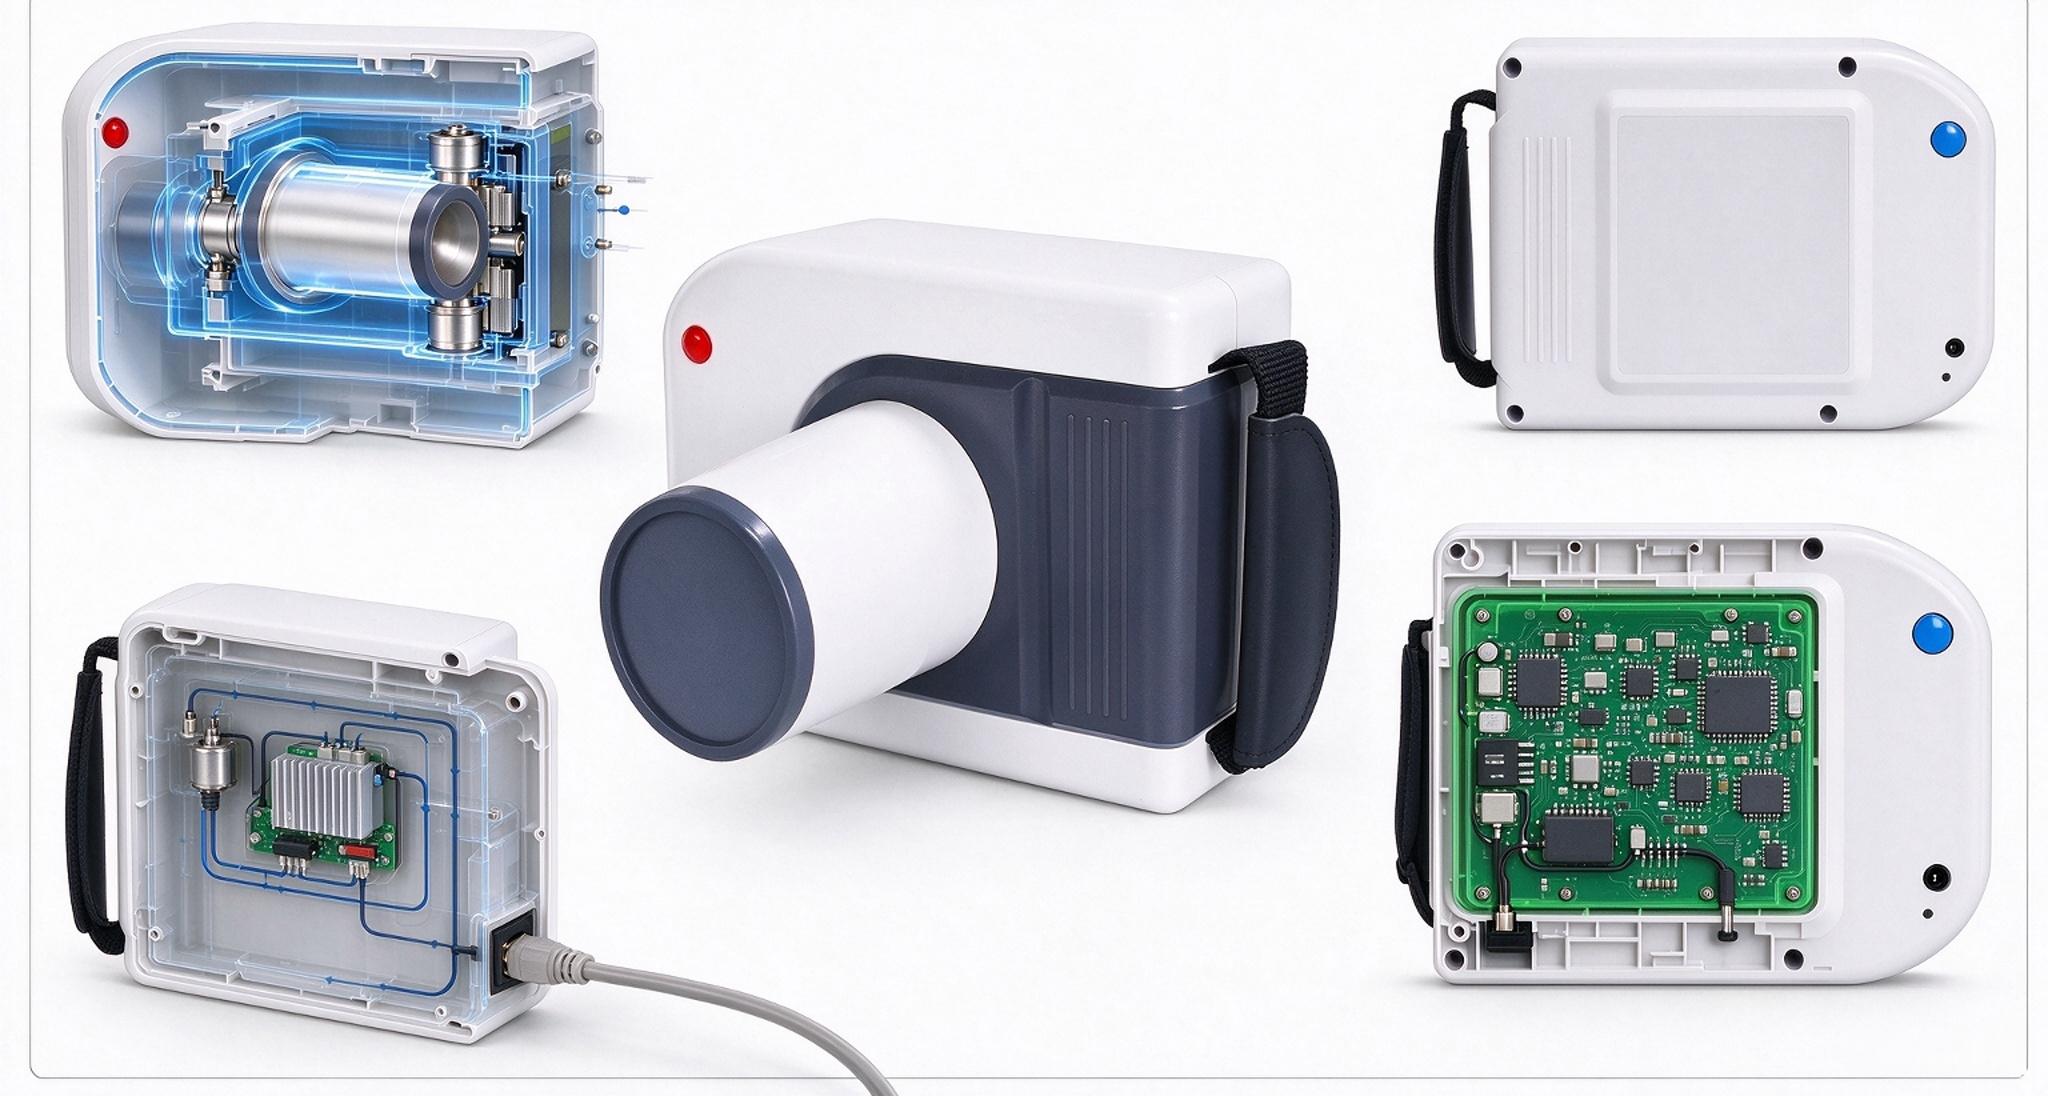
Sealed Vacuum Tube Assembly
The core X-ray tube and high-voltage components are fully enclosed in an insulated sealed vacuum structure, delivering outstanding shock resistance, dust ingress protection and moisture resistance. It operates reliably in harsh barn, farm and field environments, preventing contamination of core components and extending service life.
Solid-State Integrated Construction
All electronic components are mounted on a single centralized main circuit board with surface-mount technology, eliminating loose connections and solder joint failures. This design greatly improves vibration tolerance for frequent transportation and mobile ambulatory practice, ensuring consistent performance even with regular on-site travel.
Built-in Rechargeable Battery
The unit features a built-in 14.8 V, 6400 mAh rechargeable battery for cordless operation. Please follow the product manual for charging instructions, battery care, and operating precautions.
What’s in the Box
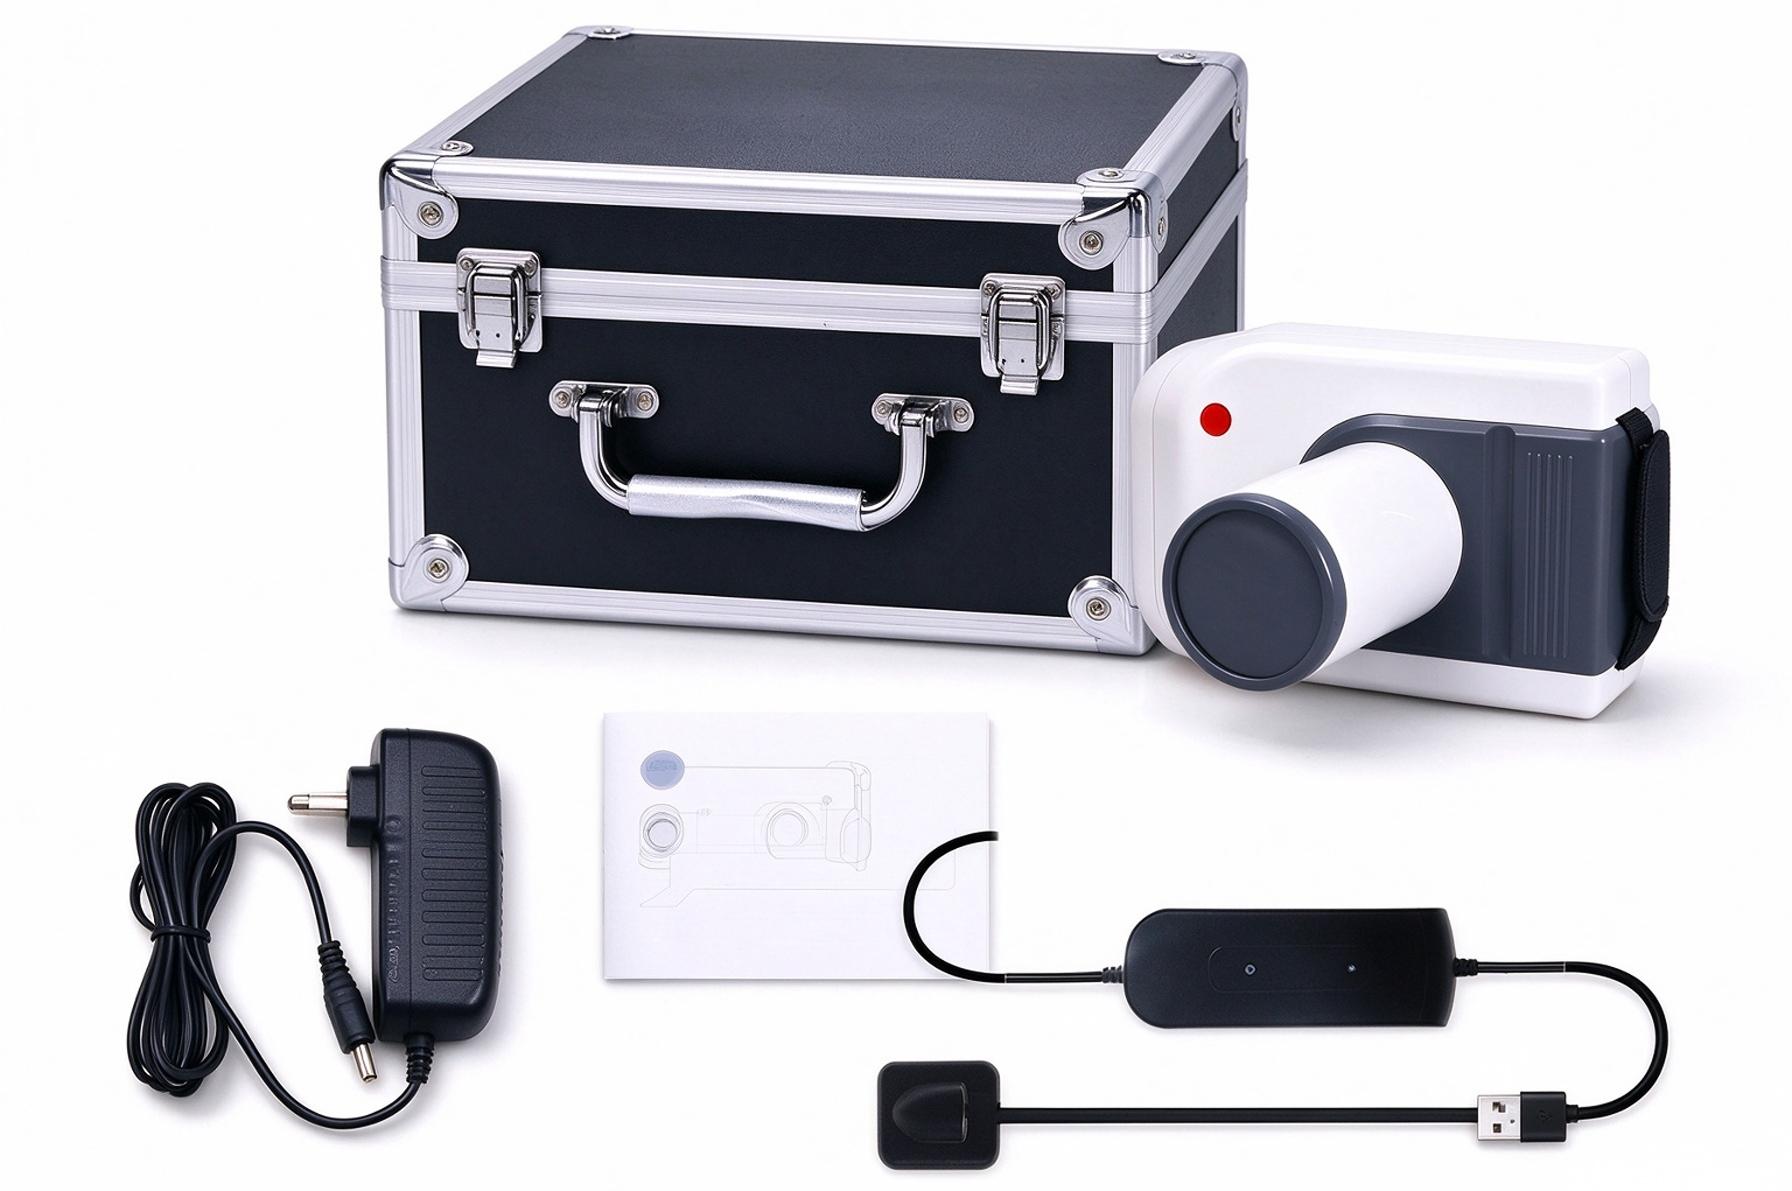
- Main Unit (Handheld Dental X-Ray Unit with Built-in 14.8 V, 6400 mAh Rechargeable Battery)
- Aluminum Alloy Carrying Case
- DC Power Adapter with Power Cord
- Operation Manual
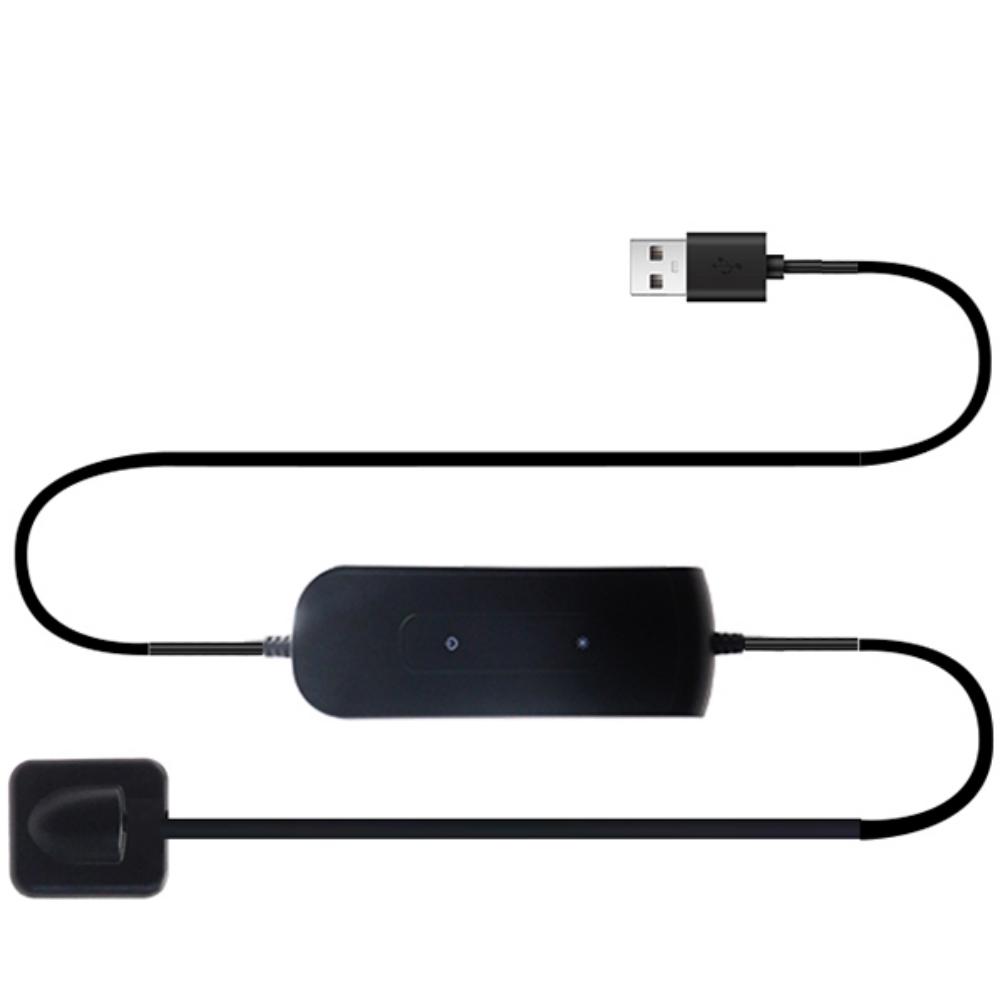
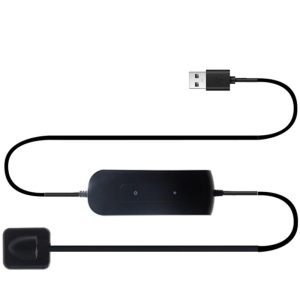
- USB Intraoral Sensor (selected size)
Troubleshooting & Error Codes
| Code | Meaning |
|---|---|
| E01 | Low battery / charging required |
| E10 | No filament voltage |
| E11 | Low filament voltage |
| E12 | High filament voltage |
| E13 | Filament control abnormality |
| E30 | Tube voltage abnormality |
| E31 | Low tube voltage |
| E32 | High tube voltage |
| E40 | Tube current abnormality |
| E41 | Low tube current |
| E42 | High tube current |
| E50 | X-ray generator overheating |
For E01, recharge using the supplied charger. For other error codes, stop use and follow the manual’s shutdown and recovery instructions. Contact authorized service if the error persists. Do not open or modify the unit.
Radiation Safety & Compliance
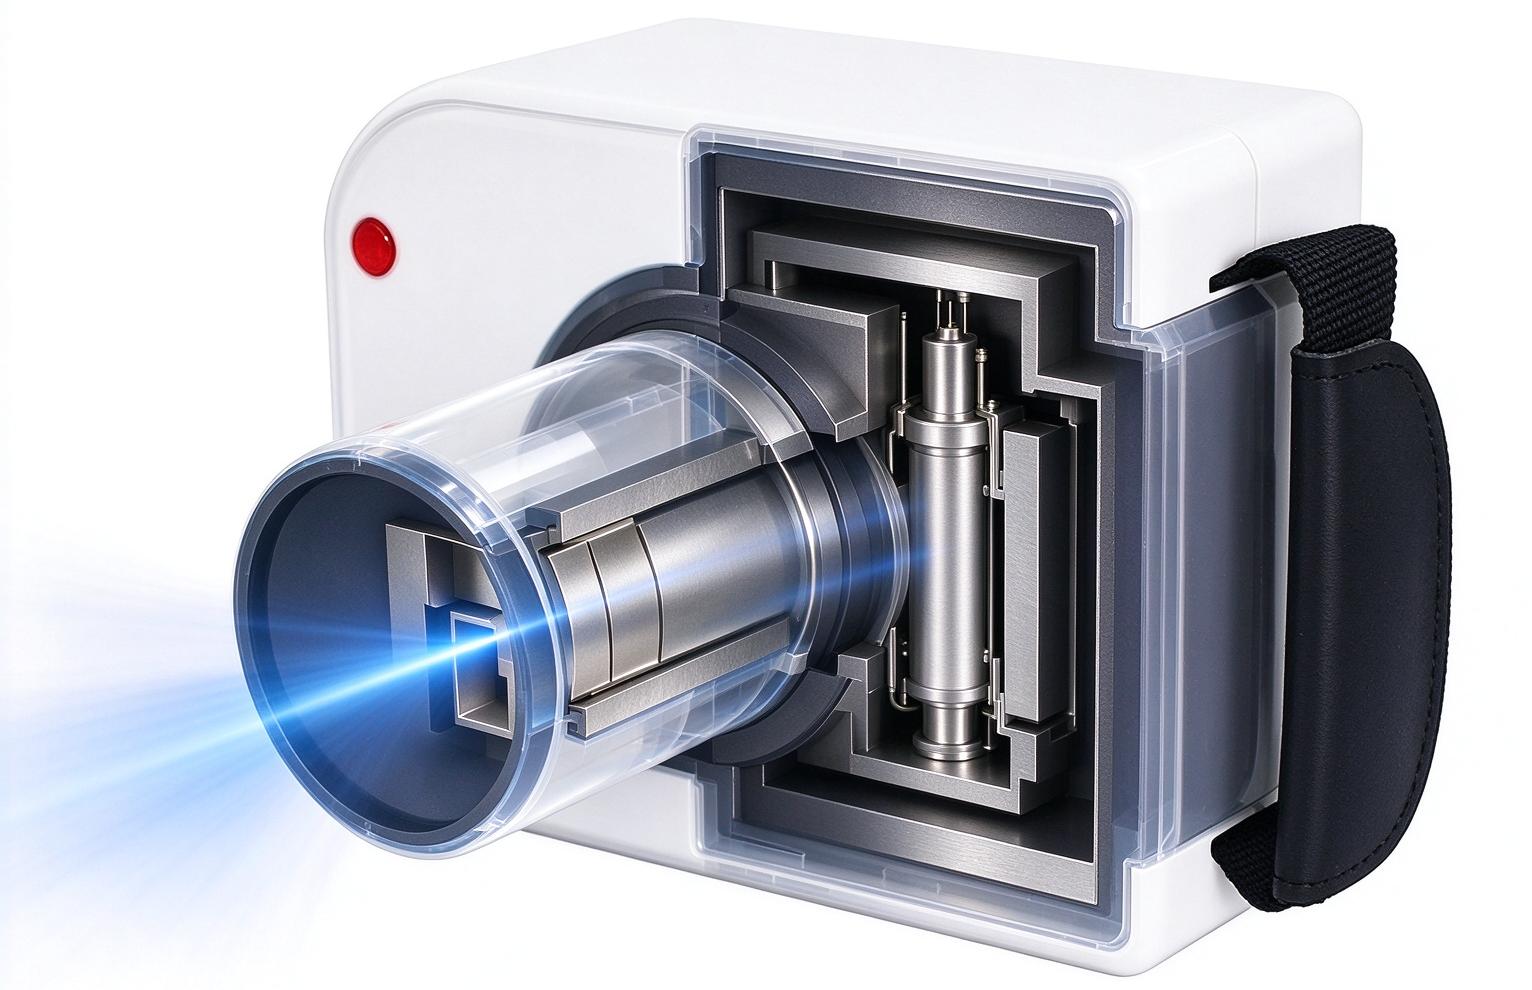
Integrated Collimation & Filtration
- The unit is fitted with an internal metal collimator inside the beam cone and a total filtration of 2.5mm Al. It strictly confines the X-ray field to the target dental area and greatly reduces scatter radiation delivered to surrounding tissues.
Dead-man Exposure Switch
- X-ray emission is only active while the exposure switch is held down, and ceases immediately the moment the switch is released. This safety design eliminates unintended continuous exposure caused by misoperation or device displacement.
Sealed Shielding Structure
- The X-ray tube and high-voltage components are fully enclosed in an insulated vacuum assembly with integrated metal shielding, which effectively minimizes leakage radiation and protects operators from unnecessary exposure.
Operational Safety Guidelines
- This device is intended exclusively for veterinary dental imaging on animals. It must never be used for human diagnostic imaging.
- Always stay as far from the direct X-ray beam as practically possible during exposure. For frequent clinical use, operators should wear appropriate personal shielding including lead aprons, thyroid collars and lead glasses.
- Never aim the beam cone at any part of the human body. Confirm the target area and clear all personnel from the beam path before triggering exposure.
- Do not disassemble the unit or tamper with any safety interlocks. All internal servicing, repair and radiation calibration must be performed by qualified technical personnel.
Compliance Statement
This handheld veterinary dental X-ray unit is designed and manufactured in compliance with applicable veterinary medical device safety standards and radiation protection regulations. It meets the performance requirements for veterinary diagnostic imaging equipment with a rated tube voltage of 60kV / 70kV (optional) and a focal spot size of 0.3mm × 0.3mm.
Care & Maintenance
Daily Cleaning
- Housing & Beam Cone: Wipe the exterior housing and beam cone surface with a soft, lint-free cloth lightly dampened with neutral disinfectant or 70% isopropyl alcohol. Never pour liquid directly onto the unit.
- Intraoral Sensor: Gently wipe the sensor head and cable with a soft cloth dampened with medical-grade disinfectant after each patient use. Avoid scratching the sensor imaging window.
- Power Adapter & Cable: Regularly wipe dust and debris from the power adapter and cable. Inspect the cable jacket for cracks, fraying or damage before each use.
Regular Inspection
- Check the beam cone window for cracks, scratches or accumulated dirt that may degrade image quality.
- Verify that all connectors (DC power port, USB sensor port) are clean, undamaged and securely seated.
- Confirm the exposure switch and power switch respond crisply and function correctly.
- Inspect the aluminum carrying case for structural damage to ensure it provides proper protection during transport.
Long-term Storage
- Store the unit and all accessories in the provided carrying case in a dry, dust-free environment, away from direct sunlight, extreme heat and corrosive substances.
- Disconnect the power adapter from both the unit and the mains supply before storage.
- Loop power and sensor cables loosely to avoid internal wire fatigue. Do not sharply bend cables or place heavy objects on them.
- Do not store the unit in high-humidity or condensing environments, as moisture may damage internal circuits and the sealed vacuum tube assembly.
Frequently Asked Questions
This unit works with most standard veterinary dental imaging software that supports USB intraoral sensors. Captured images can be exported in DICOM format for seamless integration with common veterinary clinic management systems. It is primarily compatible with Windows operating systems.
The unit is compatible with most standard USB intraoral sensors on the market. For optimal image quality, stability and full functional support, we recommend using the matched sensor supplied with the system.
The unit has an intuitive control panel with pre-programmed tooth position modes, making it easy to operate for veterinary professionals with basic radiology training. A detailed operation manual is included, and remote operational guidance is available upon request.
We provide a 1-year warranty for the complete unit and a 2-year warranty for the core sealed X-ray tube. For international customers, we offer remote technical support and replacement spare parts service.
The unit is manufactured in compliance with international veterinary medical device safety standards and radiation protection specifications. For specific certification requirements for your target market, please contact our sales team for detailed documentation.
Yes, it can be used for mobile practice as long as a stable AC mains power supply is available at the site. It cannot be powered directly by a standard vehicle cigarette lighter; a qualified power inverter is required for vehicle-based operation.
It is primarily designed for dental imaging of small and medium companion animals including dogs, cats and rabbits. With appropriate positioning and adjusted exposure settings, it can also be used for equine and large livestock dental radiography.
Reviews (0)
Be the first to review “Handheld Veterinary Dental X Ray Machine”
You must be logged in to post a review.
Reviews
There are no reviews yet.